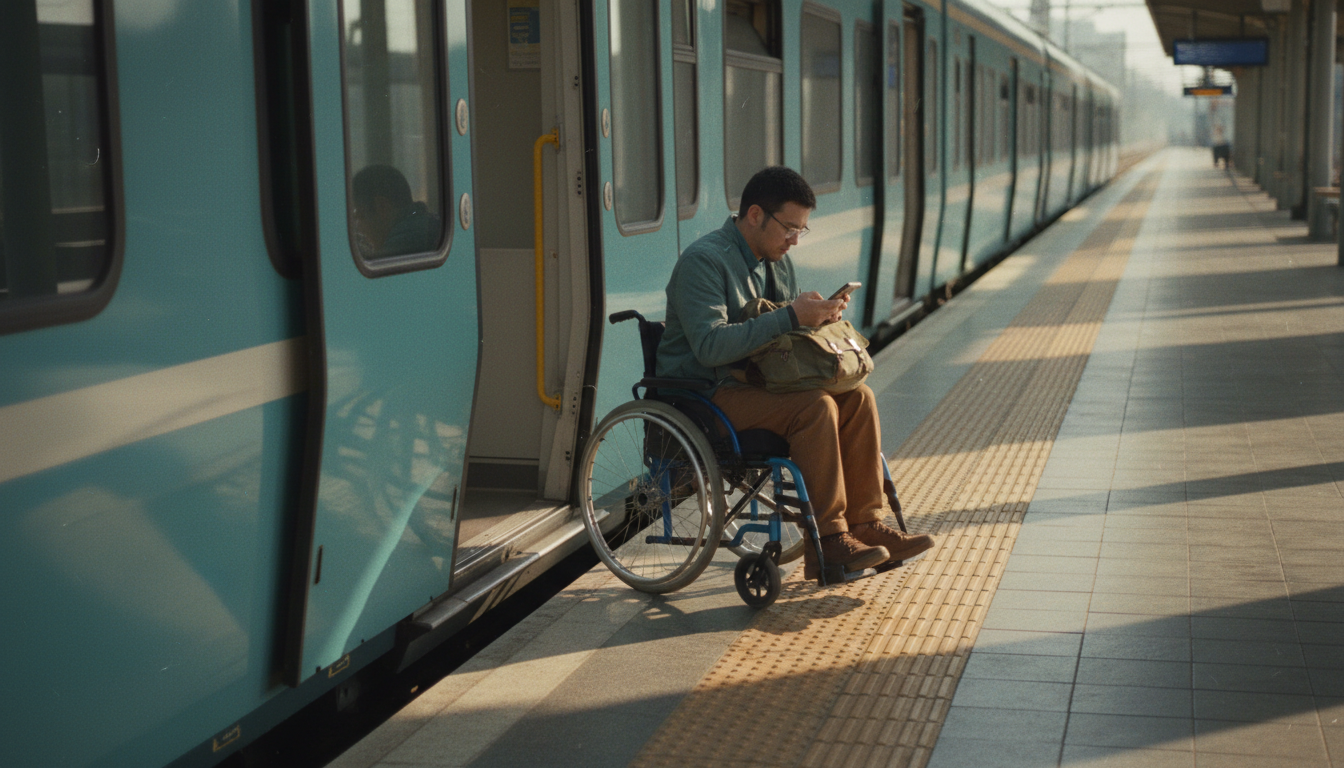
Most travel advice assumes a traveler who can climb any staircase, stand in any queue and adapt to any surprise. If your trip has to work around mobility, vision, hearing, sensory, energy or medical needs, that advice falls apart quickly. The result is familiar: a hotel listed as “accessible” with a step at the entrance, a “short walk” that turns out to be a steep hill, or a packed schedule with no room to rest.
A personalized travel itinerary fixes this by starting with your needs instead of a generic list of attractions. In this guide you will learn a five-step process for building one, how to use AI tools to speed up the research without trusting them blindly, the three most common mistakes to avoid, and answers to the questions travelers ask most. Whether you are planning a long weekend or a month of working from the road, the goal is the same: Travel Far. Work Smart. Use AI.
What Is a Personalized Accessible Travel Itinerary?
A personalized accessible itinerary is a day-by-day plan built around your specific access needs: how you move, sense, process information, manage energy and handle health logistics while away from home. Unlike a standard itinerary, it treats details such as step-free entrances, quiet hours, seating, restroom access and recovery time as core planning inputs rather than afterthoughts.
It also recognizes that “accessibility” is not one thing. A wheelchair user, a traveler with low vision, someone who is deaf or hard of hearing, and a person who manages chronic fatigue or sensory overload all need very different things. Your itinerary should reflect yours, not an average.

Step 1: Define Your Access Needs and Non-Negotiables
Before you open a single booking site, write down what a good travel day looks like for you. Split your list into two groups: non-negotiables (the things that must be in place) and nice-to-haves (the things that would make the trip better). Useful areas to think through include:
- Getting around: step-free routes, lifts, ramps, curb cuts, accessible taxis, and how far you can comfortably walk or how long you can stand.
- Sensory and communication: quiet spaces, lighting, audio announcements, visual alerts, captions, and tactile or large-print information.
- Energy and health: how many hours of activity a day are realistic, rest breaks, medication timing, and access to a pharmacy or medical care.
- Space and equipment: door widths, bathroom layout, charging for mobility aids or devices, and storage for equipment.
- Support: a travel companion, service animal requirements, and assistance at airports and stations.
Keep this list in one note. It becomes the filter for every decision that follows, and you can reuse it for future trips.
Step 2: Research the Access Details That Listings Often Skip
Labels like “accessible” or “wheelchair friendly” are not standardized, and they can mean very different things from one property to the next. Photos and reviews help, but the most reliable approach is to ask specific questions directly and keep the answers in writing.

Questions to ask hotels and venues
- Is there a step-free route from the street to the entrance, reception and my room?
- How wide are the room and bathroom doors?
- Is the shower roll-in or walk-in, and are there grab rails and a shower seat?
- How high is the bed, and is there clear floor space beside it?
- Can I get a quiet room away from lifts, ice machines and street noise?
Transport
For flights, request assistance as early as you can. Many airlines ask for advance notice, often around 48 hours, and use service codes such as WCHR, WCHS and WCHC to describe how much help a wheelchair user needs, so ask your airline which one applies to you. For trains and metros, check station-level details for lifts and step-free platforms instead of assuming a whole network is accessible.
Step 3: Build Each Day Around Pace, Not Just Places
The biggest difference between a standard itinerary and a personalized one is how time is handled. Instead of stacking attractions, plan around your energy and your access windows:
- One anchor activity per day: pick a single main plan and treat everything else as optional.
- Generous buffers: add extra time for transfers, out-of-service lifts and slower movement.
- Planned rest stops: locate benches, cafés and restrooms along the route before you leave.
- Smart timing: visit popular sites early or at off-peak hours, when crowds, noise and queues are lighter.
- Short, flat routes: check gradients and surfaces such as cobblestones, gravel and steep hills before choosing a walking route.

Step 4: Use AI to Draft, Then Verify With Real People
AI tools are excellent at turning a pile of constraints into a first draft. Give them your needs, dates and preferred pace, and they can produce a day-by-day outline, compare neighborhoods and write the emails you need to send to hotels and airlines. What they cannot do is guarantee that a ramp exists today or that a lift is working. Treat AI as your planning assistant, not your source of truth.
Here is a prompt you can adapt:
I am planning a 5-day trip to [city]. My access needs are [for example: I use a wheelchair / I have low vision / I need frequent rest breaks]. Build a day-by-day itinerary with one main activity per day, step-free routes, rest stops every [X] minutes and quiet time after lunch. List every accessibility claim I must verify directly with the venue, and draft a short email I can send to each one.
The last instruction is the important one. Asking the AI to flag what needs verification turns it into a checklist generator instead of a source of unverified claims. Then confirm each item by email, phone or the venue’s official accessibility page, and save the replies in one folder.
Step 5: Build a Plan B and a Support Kit
Even a carefully researched plan will sometimes meet a broken lift or a blocked ramp. A little redundancy keeps small problems from ruining the day.
- A Plan B for each day: a nearby alternative with the same level of access.
- Transport backup: the number of a local accessible taxi service or another ride option that suits your needs.
- A documents folder: booking confirmations, the access details venues confirmed in writing, and any assistance letters you use.
- Travel insurance: check that the policy covers your equipment and any existing needs before you buy, and talk to your healthcare provider about medical planning for the trip.
- Emergency basics: the local emergency number, the nearest hospital, and a card that explains your needs in the local language.
A Simple Sample Day You Can Adapt
Use this as a template and change the timings to match your own pace.
| Time | Activity | Access check |
|---|---|---|
| 9:00 | Slow start and breakfast | Step-free dining area confirmed |
| 10:30 | Main activity of the day | Entrance, lift and restrooms pre-checked |
| 12:30 | Lunch and rest block | Seating, quiet corner, nearby restroom |
| 14:30 | Optional light activity or free time | Skip it without guilt if energy is low |
| 17:00 | Return to the hotel | Accessible transport pre-booked |
| 19:00 | Early dinner close to the hotel | Short, flat route |
Tips for Remote Workers and Digital Nomads
If you work while you travel, add your work setup to the same planning filter. Check whether your accommodation has a stable, quiet workspace you can use comfortably, including desk height, seating and power outlets within reach. Ask about internet speed before you book, and schedule meetings during your higher-energy hours instead of squeezing them between sightseeing. Staying a week or more in one place also reduces transfers and gives you time to learn which routes and cafés work for you.
Booking and Planning Tools Worth Using
Once your needs list and question list are ready, a few tools make the research faster. None of them replaces confirming details directly, but they help you build a shortlist.
| Tool | Best for | What to check before you book |
|---|---|---|
| Booking.com | Comparing stays and filtering by accessibility features | Door widths, shower type and step-free access, confirmed with the property in writing |
| GetYourGuide | Tours, tickets and activities | Accessibility notes in the listing, plus the operator’s answers on routes, seating and pace |
| An AI assistant of your choice | Drafting itineraries, comparing neighborhoods and writing emails to venues | Every accessibility claim, verified directly with the venue |
Booking.com is a practical place to shortlist hotels and apartments. Use its filters and facility lists to narrow your options, then send each property the question list from Step 2 before you commit. Search stays on Booking.com.
GetYourGuide helps you find tours and activities for your anchor activity each day. Read the accessibility notes in each listing, then message the operator about routes, seating and walking distances. Browse activities on GetYourGuide.
Affiliate disclosure: some links in this section are affiliate links. If you book through them, KohsarBlog may earn a commission at no extra cost to you.
3 Common Mistakes to Avoid
Mistake 1: Trusting the Word “Accessible” Without Asking for Details
Because the term is not standardized, an “accessible” room might still have a narrow bathroom door or a tub instead of a roll-in shower. Always ask specific questions and ask for the answers in writing.
Mistake 2: Overpacking the Schedule
Cramming in five attractions a day leaves no margin for delays, fatigue or detours. Plan one anchor activity, protect your rest time, and treat everything else as a bonus.
Mistake 3: Skipping the Backup Plan and the Paperwork
When a lift is out of service, a saved Plan B and a written confirmation make it much easier to change course or ask for help. Keep confirmations, contact numbers and alternatives in one folder you can open offline.
Frequently Asked Questions
How far in advance should I plan?
As early as you can. Accessible rooms, assistance services and specialized transport often have limited availability, so booking early gives you more choice and more time to confirm details.
Can AI plan an accessible trip for me?
AI can draft the itinerary, compare options and write messages to hotels, but you still need to verify accessibility details directly with venues and transport providers.
Do I need a specialist travel agent?
Not necessarily. Agents who specialize in accessible travel can help with complex trips, but many travelers plan successfully on their own using the steps above.
What if something is not accessible when I arrive?
Contact the property or provider right away, show your saved written confirmations, and switch to your Plan B. A written record also helps if you need to request a change or a refund.
Conclusion
A personalized travel itinerary for accessibility needs is not about doing less. It is about removing the friction that gets in the way of doing what you came to do. Define your needs, verify the details that matter, pace your days realistically, and let AI handle the drafting while you handle the confirmation.
Start with one short trip, keep your notes, and refine your template each time. Ready to plan your next adventure? Explore more guides on KohsarBlog and keep building a smarter way to travel.




Leave a Reply